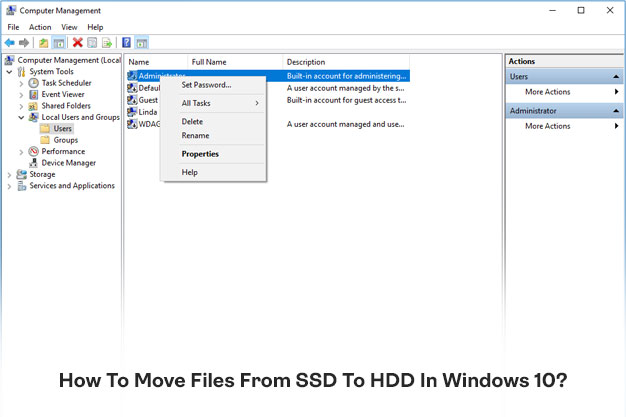
Do you wish to learn how to move files from SSD to HDD in Windows 10? Depending on the file type and size, the optimal technique to migrate data from a Solid-State Hard Drive (SSD) to a traditional Hard Disk Drive (HDD) can vary. SSD drives are speedier, but they are also more expensive. You may need to use the SSD just for performance-heavy programs to improve PC performance.
This post has a solution for whatever files you wish to move from SSD to HDD, including personal data, user files, and program files. After the data has been transferred, you may make use of the benefits of both SSD and HDD, including greater performance and greater storage.
Why Should We Learn How To Move Files From SSD To HDD
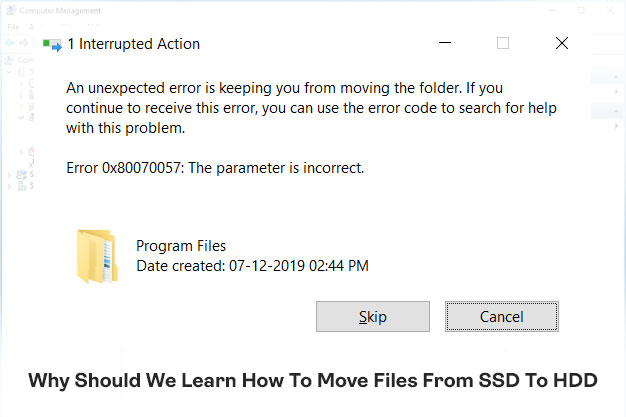
As we all know, SSDs outperform HDDs in terms of performance. A solid-state drive (SSD) may significantly improve a computer’s performance. If you purchase an SSD and fix the OS on it, you will notice a significant increase in the startup speed. However, given the cost, you could consider purchasing an SSD with a smaller size, such as 125 GB, 250 GB, or 500 GB. Such a modest-capacity appears to be extremely inefficient.
You can utilize SSD and HDD at the same time, depending on performance and cost. The SSD is often used to install the operating system and a few apps, while the HDD is utilized to store data. If you have a laptop computer, you may utilize SSD and HHD at the same time by purchasing a hard disc box for your old HDD.
How To Move Files From SSD To HDD In Windows 10
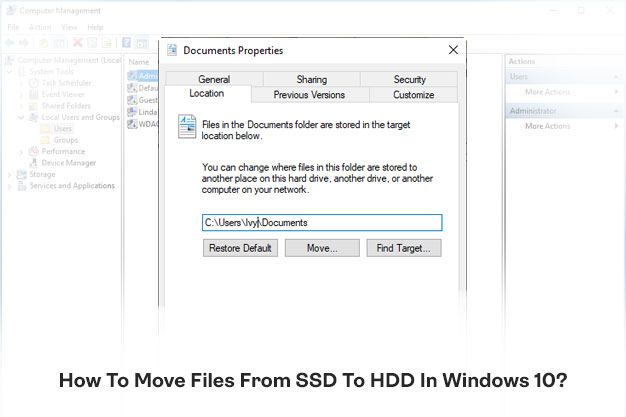
It might be a disaster if the SSD is packed with files. You’ll also need to shift data from SSD to HDD. The first notion that comes to mind when moving files from one location to another is copy-and-paste, which works well for tiny quantities of data.
However, it will not be an effective method for transferring a huge number of files. EaseUS Todo PCTrans can let you move data from one machine to another, migrate applications from local discs, and exchange files between two computers without a network.
1. Cut/Copy & Paste
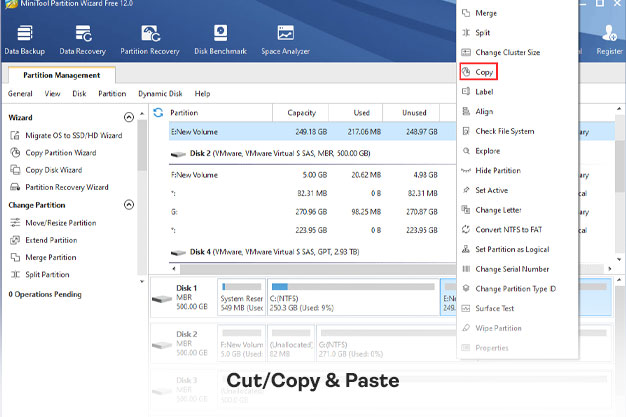
The cut and paste functionality could be the first thing that comes to mind. You just copy the file from the old place and paste it into the new one. Copy and Paste are intended for a limited number of files, and it is more convenient if all of the files are in the same directory.
You may quickly transfer files in My Documents, Videos, Music, and Pictures, for example. However, moving a large number of data to an HDD will take a long time. Furthermore, if you do not log in as an administrator, you may encounter numerous authorization concerns.
2. Move Files From SSD To HDD Directly With File Migration Feature
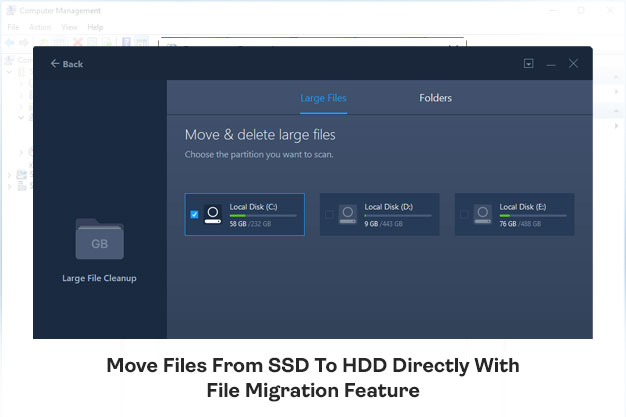
EaseUS PC data transfer program enables you to transfer large and small files from SSD to HDD drive for cleaning for those who only wish to have OS and games on SSD and other things on HDD.
Follow the procedures outlined below in detail. Let’s pretend the SSD is Drive C and the HDD is Drive D. If it isn’t, make the appropriate changes.
Step 1: On your computer, launch EaseUS Todo PCTrans. To continue, click “Large File Cleanup” and then “Start.” This capability allows you to shift data from one disc to another or transfer files from one drive to another.
Step 2: Select the hard drive or disc for scanning files.
Step 3: When the scan is finished, a list of files greater than 20M will appear. Choose the files you want to transfer and the place you want them to go. Then, to go to the next phase, click the “Move” button.
Step 4: To begin the procedure, confirm the transfer procedure once more and click the “Move” button. When the file transfer is complete, the source drive or disc will have adequate free space.
3. Move Files From SSD To HDD By Backup Restore
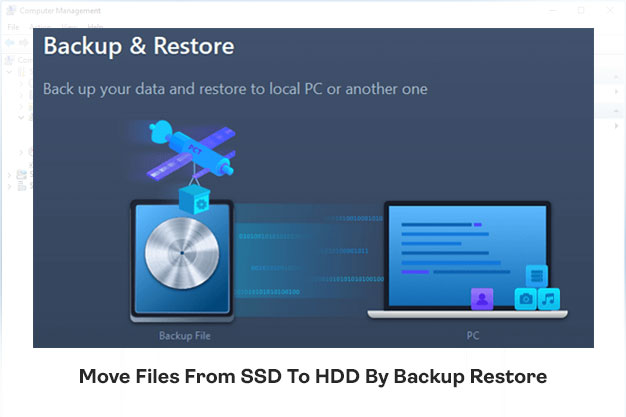
Another option for moving data from SSD to HDD is to create an image of the files on the SSD and then restore them to the HDD. After that, you may delete files from your SSD to make room for whatever you wish.
Step 1: Create a backup file of the source hard drive
- On your Windows machine, open EaseUS Todo PCTrans. Select “Backup & Restore” from the drop-down menu and press “Start.”
- Click “Next” after hovering your cursor over “Data Backup.” Later, you may either approve the default file name and file path settings or adjust them yourself.
- Select the files you wish to move to the second hard disc now. Users may make backup files for a variety of file kinds using EaseUS Todo PCTrans, including apps, personal data, and user accounts. Deselect “Applications” and “Accounts,” hover your mouse over “Files,” then click “Edit” to transfer files from one drive to another.
- You’ll need to pick files from the source disc here. Expand the disc to let you pick and choose the files you want, then click “Finish.” Finally, click “Backup.” Wait till the process is finished.
Step 2: Restore the file to the destination drive.
- To get to the point of selecting a transfer method, open EaseUS Todo PCTrans and follow the same steps as before. Choose “Data Restore” this time and click “Next.”
- Choose an existing backup file from the UI, or go to the backup file’s specific location, then click “Restore.”
- You’ve returned to the “Files” section; click “Edit” to enter. The backup file may be found here. To set the destination location, which is the other hard disc, click the pencil symbol and submit the adjustment. After you’ve completed the basic settings, click “Finish” and then “Restore.” Wait patiently for the transfer to complete.
Final Thoughts
Well. there you have all the information that you needed to learn about how to move program files from SSD to HDD in Windows 10. It might not be as difficult a task as it seems to be. Due to lower SSD space, some files might be required to move to HDD, and this article will be the best guide for you to work it out.
Read Also:


