Is your Windows 10 desktop or laptop exhibiting disturbances related to the installation or download of Windows update? I am sure that you might be encountering issues like failed installation, stuck download, and many other different errors – right?
Did you know that just by clearing the windows 10 update cache, you can solve these complexities? But the question is how to clear windows 10 update cache? To some tech-savvy people, it might be quite easy, although some beginners may find it difficult.
So keeping all things and difficulties in mind, we will explain today how to clear windows 10 update cache in the most simple way. In addition to this, we have also elaborated the concept of this update as background information.
What Do You Mean By Windows Update Cache?
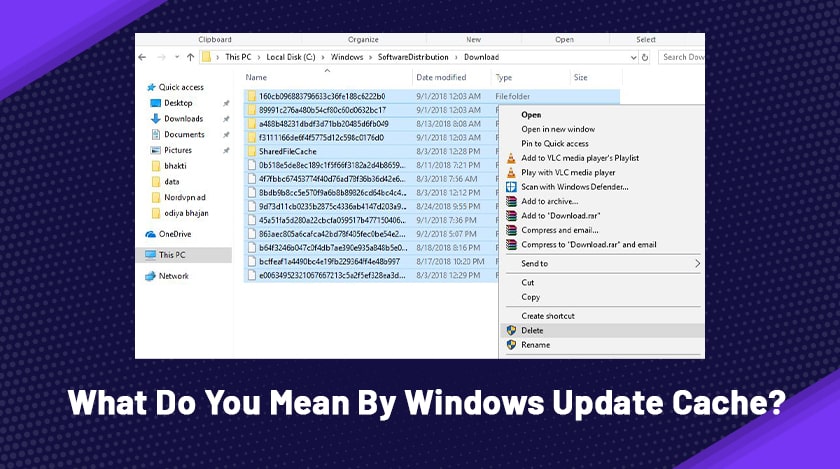
Basically, what happens is, whenever you check for the Windows Updates, your system caches the Windows update installation files automatically. It is because the system needs it when you will re-apply the update in the future.
However, oftentimes, corruption on the cache folder may disrupt the entire procedure, thereby resulting in stuck downloading or failed installation. Generally, most of us run the in-built Windows Update Troubleshooter when the Windows update stops working. But sometimes, merely running the trouble may not help in resolving the update issues.
I hope you are familiar with the hours-long downloading issue, which can be highly irritating during an emergency. Clearing the updates is the only way that you need to follow during these times. Therefore, follow the sections below to get a clear idea of how to clear Windows 10 update cache.
Where Can You Find The Windows Update Cache Folder?
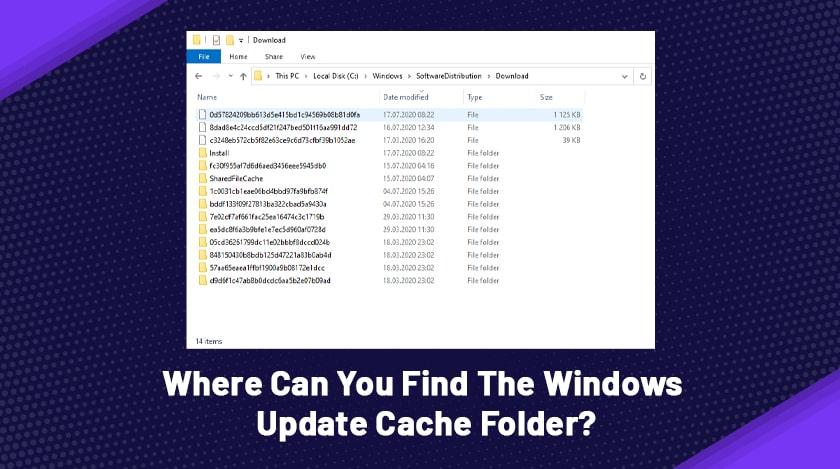
Most of the experienced persons must be aware of this, while this section is meant for those who are novices. The update cache is undoubtedly a particular folder that stores Windows 10 update installation files. Accessing this folder without fail is a must in order to clear windows update cache.
You can find it by looking at the root of your system’s drive. The pathway to get the folder is C:\Windows\SoftwareDistribution\Download.
What Are The Steps To Clear Windows 10 Update Cache?
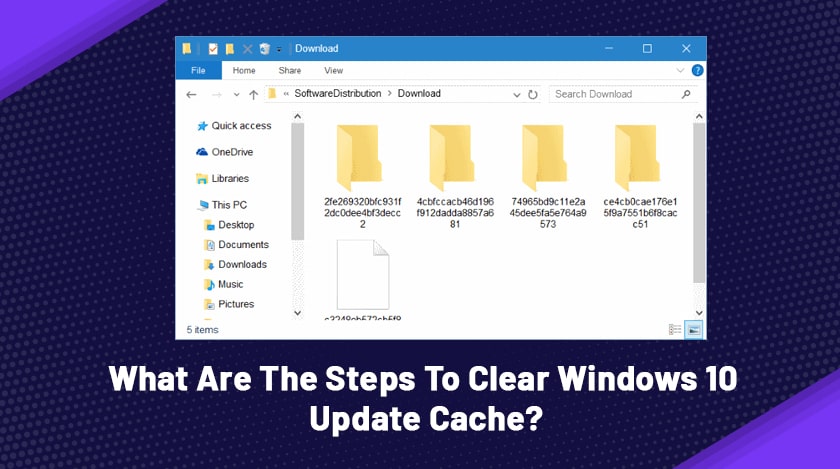
If you are here if your laptop is showing some severe troubles regarding installing or loading the updates, then you are at the right place. Keep reading the section below till the end to get effective remedies for it.
When you clear the Windows update cache, the system eliminates old cache update files and simultaneously downloads new update files from the Microsoft server. Furthermore, it solves the Windows update failure installation caused by buggy update files.
So here, we have presented three distinctive ways of clearing the Windows 10 update cache. These steps would answer all your questions regarding how to clear windows 10 update cache. Thus, follow these steps diligently and kick your laptop’s performance.
1. Delete The Windows Update Files
The steps to delete Windows update files are as follows:
- Press together Windows+R keyboard to open Run
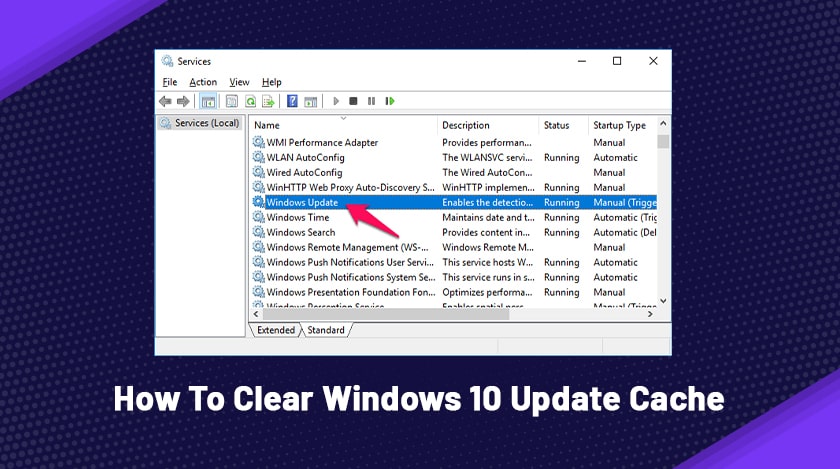
- Now for opening Windows Services Console, type services.msc and then click OK.
- After that, scroll down and try to detect the location of Windows Update Service,
- Once you identify it, do a right-click on it, and from the menu, select Stop.
- Furthermore, right-click on the Background Intelligent Transfer Service after locating it. This is to stop the service.
- Press Windows+E to open Windows Explorer directly.
- Now navigate to C:\WINDOWS\SoftwareDistribution\Download
- Hit Windows+A from the keyboard to select all the files within the folder together.
- Furthermore, press the Delete key from the computer/laptop keyboard.
- Go back to the Windows services console and again start the service by right-clicking on Windows Update Service.
There you go; you have got all of your responses about how to clear windows update cache. Now reboot your PC to check if the issue persists. Do you want to know a secret? By doing this, Windows will download only new update files from the server next time. Thus, it would lead to error-free, lag-free, as well as systematic installation.
2. Rearrange All The Components of Windows Updates
By downloading on your system, you can reset Windows Update Components, fix the Windows update, get drivers, security patches, and features. Once you complete these steps, fresh update files will be downloaded automatically from the Microsoft Server next time onwards.
Resetting windows update cache requires you to do:
- First, find the option – command prompt from Start and open it as Windows administrator.
- Now stop MSI installer, Cryptographic, and BITS by typing the commands below at the command prompt.
- Press Enter after typing every command.
- After that, rename two folders: Catroot2 and Software Distribution folder, by typing the below commands. Do not forget to press Enter after typing each command.
- Restart all those that you stopped previously. We have already mentioned them in the 2nd bullet point.
- Again, you need to type certain commands in the command prompt: Net start msiserver, net start bits, net start cryptSvc, and net start wuauserv.
- As the last step, type Exit in the same window of the command prompt to shut down the program and restart the computer.
3. Remove The Windows 10 Update Cache From The Command Line
How to clear windows 10 update cache? – We have received this question maximum times from our audience. The 3rd method is the final and most effective one of none of the above procedures work. These steps would enable you to know to eradicate clear the Command line by eradicating Windows 10 update cache’:
- Open The command prompt.
- Immediately after opening it, head on to accept the UAC prompt
- No run the commands given below. Remember, hitting Enter is a must after each line:
- net start wuauserv
- net stop wuauserv
- cd %Windir%\SoftwareDistribution
- del /f /s /q Download
The Final Words
We hope that you have understood the importance of knowing how to clear windows 10 update cache. It is not a feasible idea to purchase a new desktop/laptop all of a sudden if it lags while downloading updates. Instead, try the steps above to solve the issue and prevent them from happening in the future.
Read Also:

![How To Clear Windows 10 Update Cache – [2021 Update]](https://techtrendspro.com/wp-content/uploads/thumbs_dir/photo-1548345680-f5475ea5df84-pae3l6idrt9hqy63jjhec0neastl061qd7o621p264.jpg)
![How To Clear Windows 10 Update Cache – [2021 Update]](https://techtrendspro.com/wp-content/uploads/thumbs_dir/photo-1532968899863-5b52ef155913-pahwatgeaym40d7smy21u25rsyp46wlv120yvcc2m4.jpg)

