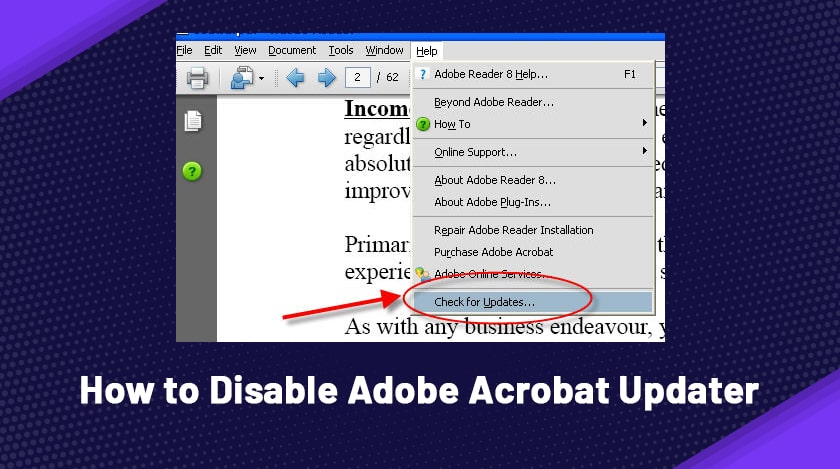
In this article, we will guide you on how to disable Adobe Acrobat updater on Mac or Windows 10. Basically, this update keeps working in the background and consumes a significant amount of data. In addition to these, a myriad of system resources or elements is used in updating.
Therefore, it makes the functions and pace of the computer sluggish. This slow running may be highly irritating at the time of some important office work or when you are in a hurry. Therefore, it is essential to take necessary actions to despicable the update.
However, if you are a tech-savvy person and have experience regarding the usage of Adobe Acrobat, you can do it all by yourself. On the contrary, this guide will come to your use if you are a novice.
Keep reading this guide from end-to-end to know how to disable Adobe Acrobat updater in some easy steps. Following are the questions that we would try to cover in this guide:
- What Is Adobe Acrobat Updater?
- How To Disable Adobe Acrobat Updater On Mac Or Windows 10?
- Some Frequently Asked Questions regarding this topic
What Is Adobe Acrobat Updater?
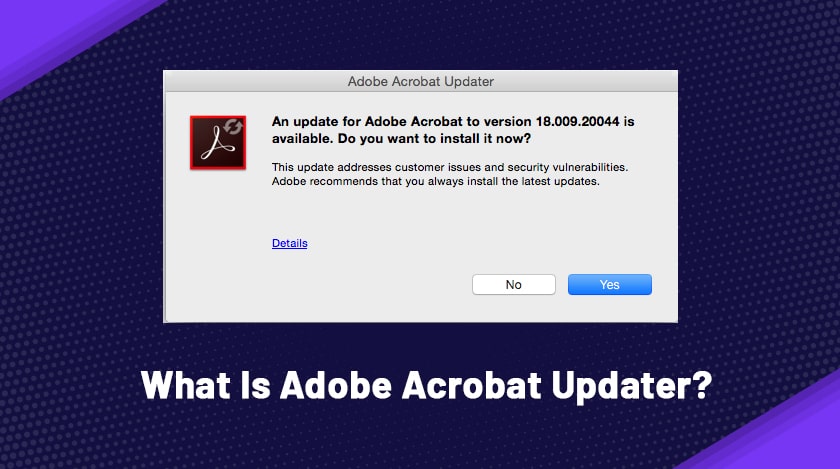
Before hopping on to the methods to disable adobe reader updates, you must know what Adobe Acrobat Updater is. Mainly, Adobe Acrobat installs the updates automatically. In addition, Acrobat DC and Acrobat Reader DC regularly monitors for important pending updates and installs them after downloading them on your system.
Once the procedures are finished, you get an alert via a short message that the upgrade is complete. To be more specific, the message appears in your system tray. But, first, you must know that the platform delivers these updates via four key options:
- It installs the updates automatically.
- Downloads the updates your you and enable you to choose the time of installing.
- Checks for the updates manually and installs them
- It notifies you about the download of the updates but lets you choose when to install and download updates.
This approach is preferable since it does not need end-user involvement. It’s the most efficient and safe way to keep Acrobat Reader DC and Acrobat DC up to date and secure. Have you ever thought
How To Disable Adobe Acrobat Updater On Mac Or Windows 10?
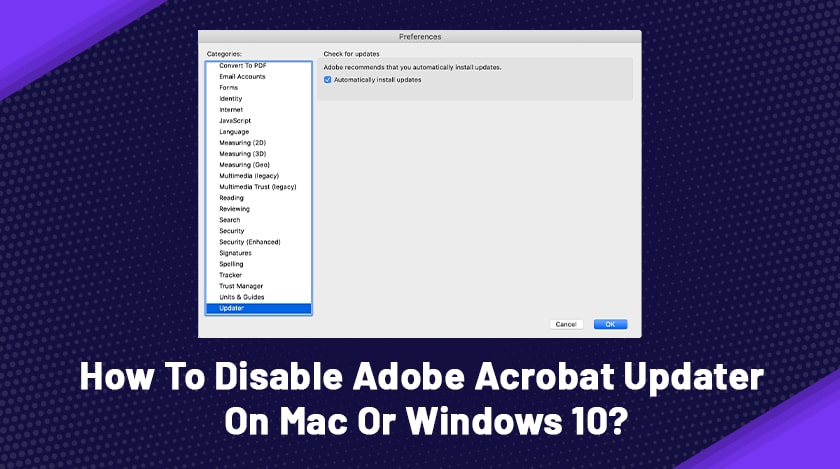
We hope that you may have looked for the answers to how to disable Adobe Acrobat updater but did not find any suitable solution. Actually, this issue is not so much recognizable on the planet, and therefore, not many solutions are available. But, we can say that you are at the right place.
As we have mentioned earlier, the Adobe Reader updater creates hanging issues in the computer. Hence you may want to turn off adobe reader updater. In this section, we are going to elaborate on the necessary actions that you require to know if you want to know how to disable Adobe Acrobat updater.
Also Read: Top 8 Alternatives Of Adobe Screen Recorder
How To Disable Adobe Acrobat Updater On Mac?
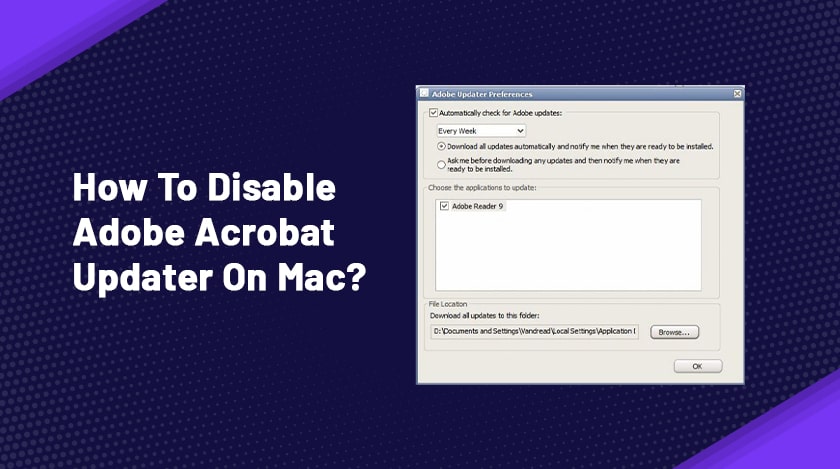
Below are the steps you need to follow to disable the Adobe reader update registry when your system connects to the Internet.
- Firstly, launch Application Manager from /Applications/Utilities/Adobe Utilities/Adobe Updater5/ on your system and click on Preferences.
- On the next screen, on the right-hand side, you would be able to see an option saying Notify me of new updates on the menu bar.
- The option will remain check by default.
- No all you need to do is uncheck the checked box and hit OK.
The Adobe Updater would stop running in the background automatically. Simultaneously, the issues of excessive data consumption and resource exploitation will stop in your Mac.
Apart from these, follow the strategies mentioned above to treat the issue when your Mac is disconnected from Internet connectivity.
- Begin the Adobe Updater Application
- As soon as the dialog box of no internet connection appears, tap the Cancel option.
- Now carefully go to /Users/[username]/Library/Application Support/Adobe/Updater5/“. After tht open the Adobe Ypdater Preference fule with .dat extension in the TextEdit.
- If you see this tag <AutoCheck>1</AutoCheck> there, reduce the value from 1 to 0.
- Now close and save the file.
How To Disable Adobe Acrobat Updater On Windows Operating System?
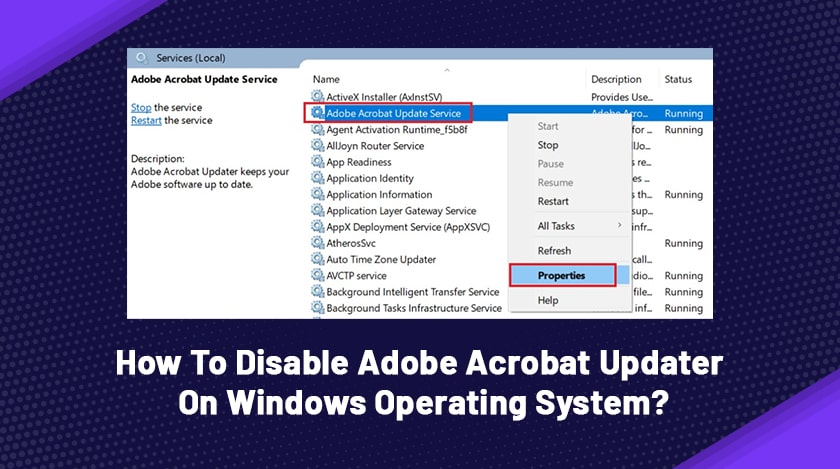
If your PC has an internet connection, you can alter the Adobe Updater Preferences for not checking the Updates. In fact, you can turn off Adobe reader dc updates more efficiently with a stable internet connection. To do this, follow the steps below:
- Start the application AdobeUpdater.exe from \Program Files\Common Files\Adobe\Updater 5.
- Now click the Preferences button once the Update Screen appears in front of you.
- Uncheck the box that is auto-checked and press the button OK on the screen.
Now let us check those methods that you can consider when your Windows system detaches from the Internet:
- Give a start to the AdobeUpdater.exe application.
- Once the no internet connection dialog box appears, click cancel.
- After that, follow this pathway for Windows XP – \Documents and Settings\[username]\Local Settings\Application Data\Adobe\Updater5.
- Furthermore, adhere to this route for Windows Vista: \[username]\AppData\Local\Adobe\Updater5.
- Then open the AdobeUpdaterPrefs.dat with the Notepad.
- If the tag <AutoCheck>1</AutoCheck> already exists, change the value 1 to value 0.
- Once everything is complete close the AdobeUpdater Prefs.dat file and save it.
The Bottom Line
So in this article, we have explained a few ways by which you can disable Adobe Acrobat Updater. Please note that the key aim of this is to prevent the updater from installing the latest updates on your computer.
If you feel that this article has served your purpose, share it with your colleagues or friends. Furthermore, please drop a comment in the box below if you want to share any queries or opinions. Lastly, follow us regularly to get more interesting articles on similar topics like this in the future.
Read Also:


