The iPhone, in its perpetual quest for improvement and perfection, is turning its focus to its camera. New iPhones feature a trio of powerful cameras designed to enable you to capture your world in crystal-clear pictures and HD videos. Unfortunately, even these powerful cameras are not enough to bring out the best in the average iPhone photography skills.
Being Expert in iPhone Photography
Your iPhone is not a problem. You just need to learn a few tips and tricks to become good in iPhone photography.
Steady Does It
One of the unspoken requirements of good photography is steady hands. Unfortunately, it is tricky to stay steady when shooting using an iPhone, especially considering that you have to move your hands and fingers to shoot. This is one of the most common mistakes among amateur iPhone photographers.
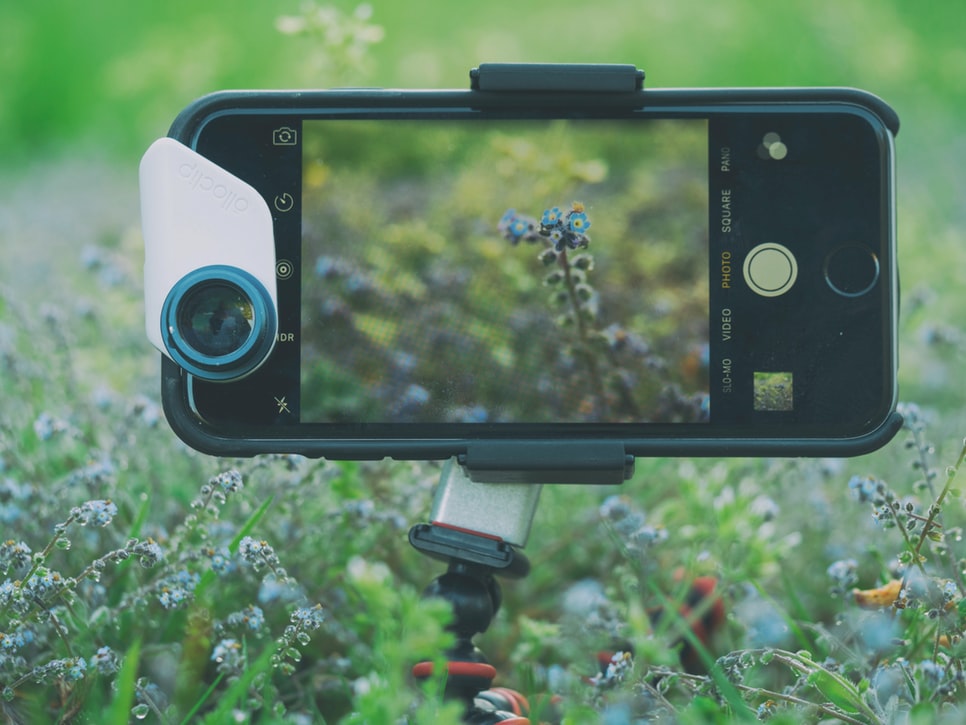
You can achieve stability using phone tripods for your iPhone photography. These tripods function just like a camera’s – you just mount the iPhone on the tripod and shoot away. They are small, light, and easy to carry, so you can take them with you everywhere. They are especially ideal if your specialty is landscape photography.
Call in Reinforcements
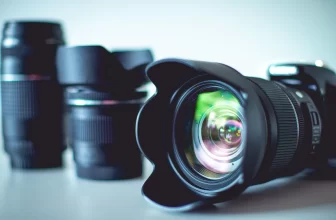
Apple is going all out in trying to improve the quality and power of its iPhones’ camera lenses. Unfortunately, it still has a long way to go compared to stand-alone cameras. You don’t have to wait until Apple catches up – get a secondary lens.
There are plenty of secondary lenses designed for use with iPhones. These lenses are attached to the phone’s camera to improve clarity, power, and overall quality. They add color and detail to pictures, and the difference is immediately notable.
Remember: secondary lenses come in varying qualities (some brands are poorer than your iPhone’s camera), so do your research and choose well.
Keep it Simple
Simplicity is a virtue in photography. Unfortunately, amateur photographers don’t understand this. They tend to complicate pictures by trying to capture more than they can handle.
Capturing beautiful pictures using your cool smartphone will be easier when working with a minimalist composition. This means focusing on a few subjects as possible – one subject is advisable for beginners. Many subjects in a picture are a distraction whereas one subject commands the audience’s attention better.
Most amateurs are off-put by the blank space left in photos with few subjects. However, this blank space is more helpful than you know – it is the negative space that makes the subject stand out.
Try New Angles
Most people naturally hold their iPhones to their chest when shooting. The chest angle is convenient for easy and quick shooting, but it is not the only angle.
Professional photographers go to extreme lengths (including assuming some positions that can safely be described as acrobatic) to shoot perfect pictures. You, too, should try out new angles to find out more beautiful perspectives. For a start, try adopting a variety of lower angles to make the photos a bit more intriguing and bring out the appealing details in the foreground.
Get Closer!
A common mistake among amateur photographers is not getting close enough to their subjects. Unless the subject is dangerous, you should get as close as necessary to capture the perfect picture! Putting too much distance between yourself and the subject leaves out some of the finer details necessary in completing the picture. Essential details, such as colors and textures, tend to seem blurry when there is too much distance.
Professional photographers recommend getting close to the subject if it is stationary. This is especially recommended for subjects that include people and pets. And, in addition to getting close to the subject, you should also remember to assume the best position.
Use the Help
The iPhone camera app features a host of tools designed to help spruce up pictures. There are editing tools to make pictures brighter, darker, larger, and more. Most people already know about these tools. However, most people don’t know how to properly use these tools – if used wrong, these tools can make your photography worse than it already is.
Know which tools to use in certain situations, and which ones to avoid. For instance, the flash lighting is not always helpful in low-light environments, but most people have a different opinion. Try out each of the gizmos available to learn how they work.
Practice, Practice, Practice!
As with every other skill, photography demands practice. This doesn’t mean simply taking as many photos as you can. It means trying to take the best picture every time you take out your iPhone to shoot – and remembering to put these tips into practice with every snap. You will notice subtle improvements over time!
Conclusion
Anyone can take a picture using their iPhone, but it takes exceptional skills to take professional-grade photos using that nifty device. These tips come straight from the pros, and they have been tested and proven. Make this your starting point and you will be on your way to becoming a pro photographer.