Do you like to know how to take a screenshot on Windows? Then you are in the right place. There are several tools you can use to capture screen events but the ones windows give its users are good minus the requirement of any other additional materials. These tools are just shortcutted keys. In this write-up, you will find a combination of different keys that allow you to capture dissimilar happenings. Below are some of the best tips for taking screenshots in windows.
How to Take a Screenshot on Windows:
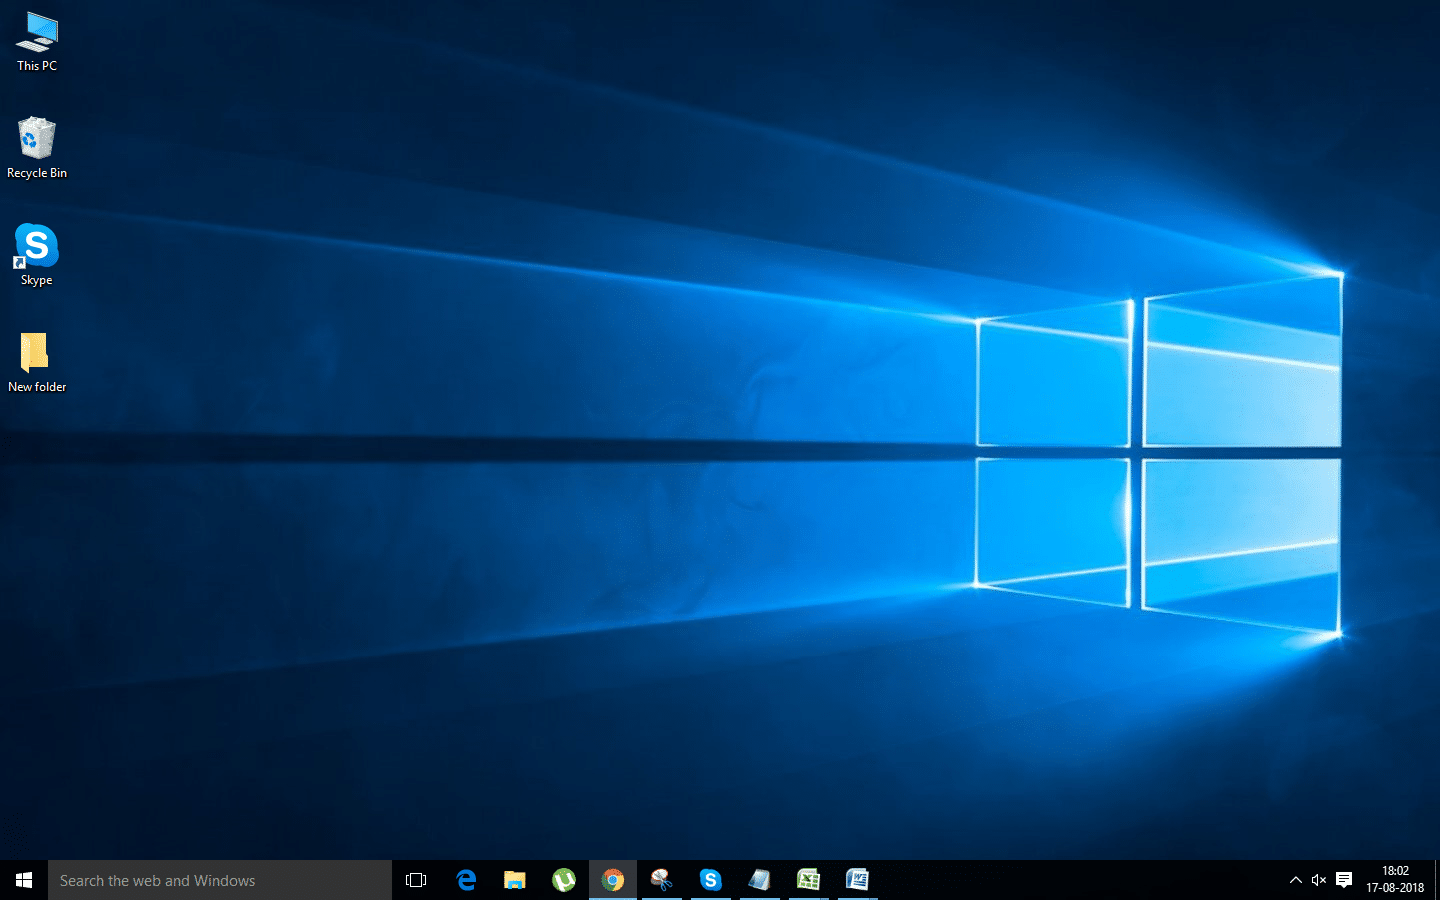
Taking a Full-Screen Screenshots on Windows 8 and 10
Start by going to the screen you would like to screenshot. Before taking the screenshot, you have to ensure that the target screen like programs and windows. Locate the print screen tab on the keyboard. The key is always located on the upper right side of the keyboard and usually has the ‘SysReg’ written on it. There is always an abbreviation ‘PrtSc’ or a similar thing written on it.
Press the Windows key plus the print screen key all at once. Doing this will take the current screenshot and in many cases, they will briefly dim. The screen will not dim if the computer has deactivated particular settings. This is common in old machines that you have upgraded their windows. If the screenshot does not appear, press Fn + Print Screen + Win or Print Screen + Win + Ctrl.
Look for the screenshot. You will get it in the folder of screenshots, which is found in the pictures folder. Every screenshot you take has the label ‘screenshot (number)’ to resemble the order of taking the screenshot.
Taking a Screenshot on a Windows Computer:
Get to the screen that you desire to screenshot. Before taking the screenshot, make sure that the screen to be shot does not have distractions. Press the key for printing the screen. It is on the upper right location on the keyboard on the right side after the function keys. Pressing this key will take a shot of the whole screen contents. The title of the key may be ‘PrtSc’ or a similar thing. If the computer possesses the Fn key on the left side, you may have to press it alongside the print screen tab together.
Start Paint program that comes preinstalled in windows computers. After the paint window opens, paste in the screenshot and you will see the shot in the paint. Save the shot by choosing the save folder found on the left side of the window. Finalize by pressing save. It is possible to change the file type of the shot by selecting ‘save as type’ in the drop-down box in the window then click to change the format. The common types of files are PNG and JPG. PNG is recommended because of the small file size and high quality.
Taking a Single-Window Screenshot:
Click on the window you would like to capture the image. The function of one window will take a snap of the active window on the screen, meaning that it has to be at the front of other windows. An image will get copied to the clipboard. The image dimensions will get determined by the window size after capturing the screenshot. You will not get a notification that the shot has been taken.
Open paint and paste in the screenshot. It will appear in the paint window. You can also paste it in other programs like email or word. You just need to paste in the desired window. Save it as an image. Choose the format type you desire.
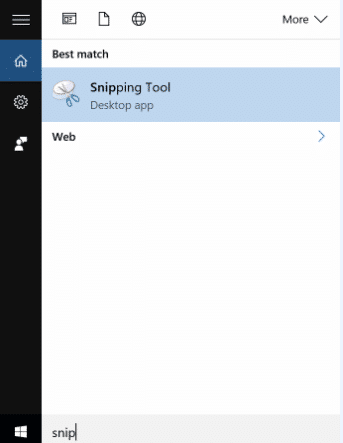
Use the snipping tool software:
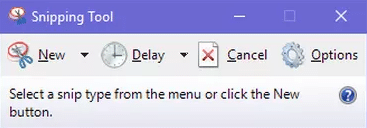
This tool is available in all windows versions except in the basic and starter editions and Windows XP. It is available on the accessories list. Select the snip shape but the rectangular shape is chosen by default. Choose the arrow button to edit the shape of the snip. The free snip form allows you to draw a shape with the mouse. The selected area will get snipped. The rectangular snip will allow you to choose the window to snip. The full-screen snip will snip everywhere with the included window.
By default, the snip will possess a red border surrounding it. It is possible to change or disable by clicking on the tools tab available on the left top side of the snipping toolbar. Select options on the drop-down menu and then uncheck the box next to the one showing the selection ink after capturing snips. This will eliminate borders from future snips.
Click on a new snip to begin selecting. The screen fades for you to draw the snipped area or choose the window when you choose window snip. If you choose the selected full snip, the snip will get created when you click new. After creating the snip, it will open in a novel window. Use the pen tool to make notes and draw, and then utilize the highlighting tool to draw your attention. The erase tool can just erase annotations but not the screenshot. Save the screenshot in the desired format and send it by mail or place it on the website. By default, the snip gets copied to the clipboard of creation. You can paste it in Word or Paint. You can do more edits than when using the snipping tool.
Screenshots on Windows Tablet or surface:
In case you are a user of dell venue, Windows tablet, or surface, it will not be possible to utilize the PrtScn tab for taking the snap as it is not found in the. The truth is that the snipping tool will be crucial but working on the touchscreen is not an easy task. However, the option is still available. You can utilize hardware buttons for your screenshot.
So as to capture your screen, press the volume down and windows logo buttons together. This will help in taking a full-screen image and will then save it in the pictures screenshots folder. After doing this, you will realize the screen getting darker for some time which is a signal for the screenshot being successfully captured.
Conclusion:
So you have learned new things. You may be familiar with one of the above methods but knowing the other methods is an absolute plus. All the way, you will use them easily and in a handy manner. In case you have another thing in mind, you can use other methods to increase your experience in taking screenshots.
Read Also :