Many people ask which type of hosting is better for them on what basis?
There are two kinds of web hosting: shared or Ubuntu VPS hosting and dedicated host. If you want to get more control over your server, a VPS server is ideal for you.
You also need personal virtual private servers if you have unique needs, such as software that requires heavy system resources, e.g., databases or content management systems.
In addition, a VPS server is a great way to get more reliability and power from your website without the need for physical hardware. One of the crucial examples is Google VPS Server. The following article is a checklist for setting up a VPS server with no fuss.
Why Should You Use A VPS Server?
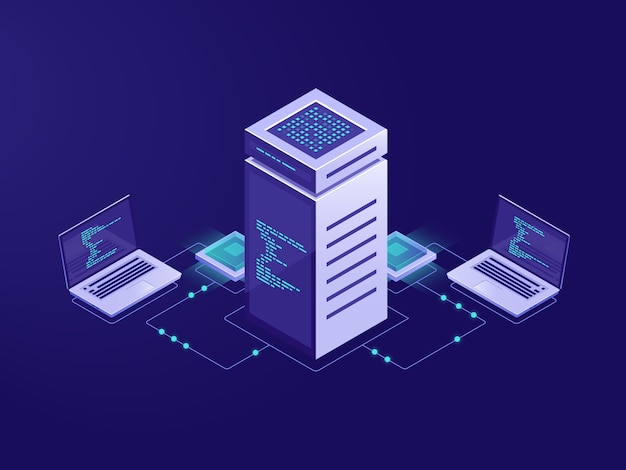
![]()
Virtual servers are less expensive than dedicated servers and easier to maintain than a shared server since they require less maintenance time and little administration experience. They provide much more independence because they don’t share their system resources with other users.
A VPS server is more responsive than a shared server because each user has its own dedicated system resources, and resources can be turned on or off by the user, whereas a shared server’s system resources are accessible to all users. That is why it will be better to use a VPS server for your personal or business goals.
5 Steps To Set Up A New VPS And Use It
One of the most famed VPS servers in the world is Amazon VPS Server. It’s based on Amazon Web Services (AWS).
Here are five steps you can use for setting up your new VPS server:
1. Know How To Login To The SSH (VPS Via Secure Shell) Access
The first thing you must do is find out how to log into your VPS.
You should understand thoroughly how to log in to your server from the command line. Use SSH access to log into your server and make the necessary adjustments. Use either a dedicated IP address or hostname (depending on how you set up your DHCP).
SSH is the most secure way to log into your server – so check out websites like Linode to learn more about SSH. It is a secure protocol that encrypts your login and password when you log into the server, preventing third parties from accessing it. When you first log in, a password and an SSH private key are generated for you so that your machine will be more secure.
2. Update Your Server
After logging in to your server, you must update the operating system on your server. Updating your server is a basic task that almost all servers need. It can avoid security issues such as weak passwords or viruses.
You can visit your service provider’s website to download and install an updated version of the operating system on your VPS.
If you do not want to install an updated version of the software, do not hesitate to ask for assistance from them during this process to get the operating system up and running again faster.
3. Create A New User And Modify Its Privileges
After updating the operating system on your VPS, you must generate a brand new user and change its privileges.
You can log in to your VPS as the superuser and create a new user with root privileges. The root user rights allow the user to access all parts of your server, so it is recommended that you make other users with lower-level benefits instead.
Create a non-root user account by following these steps: after logging in as the administrator, go to the Users page in the control panel and click on New User to add a new user. Then input the username, password, and a comment.
You must know if you have chosen the right username and password before creating an account. It is recommended that you use only letters or numbers for the username and nothing special or not easy to guess for passwords.
4. Enable Public Key Authentication
This is a very important step to perform, and it will prevent unauthorized access to your server for the new user you create. The root account gets all privileges, and if one of them fails, the system will fail and not allow the user to access it anymore.
After verifying these privileges, log in to your server as root (with administrative rights) using SSH. In addition, the “reboot” option should be enabled for the operating system on your VPS to reboot if a problem arises since an unresponsive machine cannot connect with other computers on the Internet.
5. Set Up A Firewall For Your VPS
After creating the server, you need to apply basic security measures such as a firewall. The firewall will make sure that any hacker attacks will not compromise your server, and it will also keep undesirable files from accessing your server.
A firewall is primarily a barrier between the outside world and your computer network to prevent unauthorized access from entering your computer while allowing authorized traffic to join in.
You must use a good firewall if you want to use a VPS since it is more secure than those of other hosting services.
The Bottom Line
Using a VPS server cloud is an efficient way for you to access your server computer whenever you want and wherever you are.
The virtual private server operates in the same way as a dedicated website hosting service but with fewer resources. One of the benefits of using a VPS over a shared web hosting account is that you do not have to share the server with other users, so your site will always be available when necessary.
It usually costs more than shared web hosting since it provides more resources and power over the server. So, if you are looking for a way to create your own website hosting service or just want to store files safely and securely online, then choosing among different VPS plans is the best option for you right now.
Read Also: