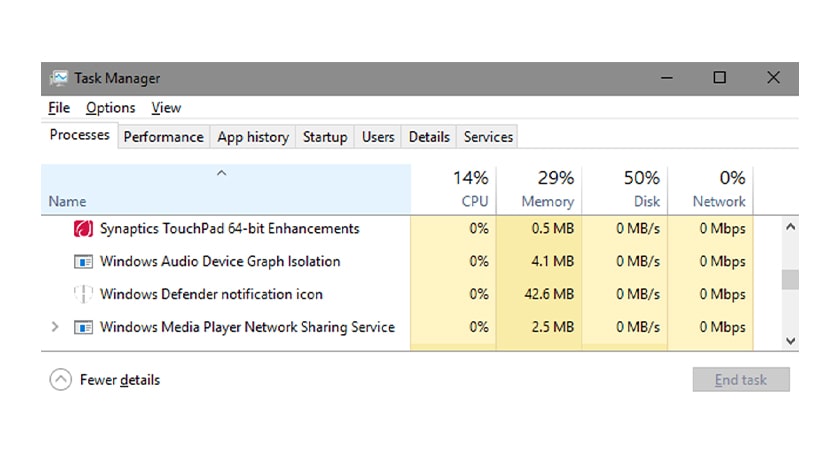
Getting fed-up with a slow desktop or a laptop? Not aware what actually is happening in the system? Have you checked the Windows Audio Device Graph Isolation on your device? If you have never heard of that or don’t know how it can hamper your device, then here we would help you know everything about it and how to fix the Windows audio device graph isolation Issues in easy steps.
You might have faced issues with your computer getting slower without any reason. Or maybe you have noticed something called “Windows audio device graph isolation” in your task manager that is eating up a lot of your CPU usage space and causing your device to get slower. Now let us first know what this thing is exactly.
What Is “Windows Audio Device Graph Isolation”?
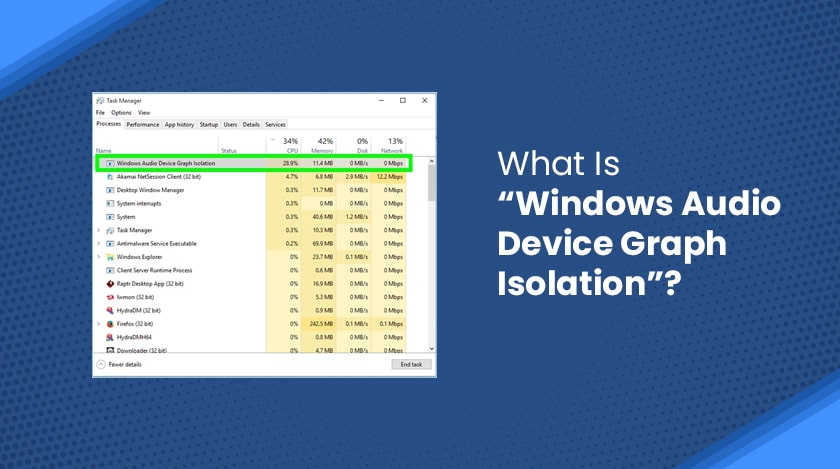
Windows audio device graph isolation is an integral part of the Windows’ audio engine in the Windows operating system. It basically allows the third-party apps, or devices, hardware to access the Windows audio system and run sounds on your computer.
This process is also called digital signal processing. With the help of it Windows users get a special ability to improve their sound quality. Windows audio device graph isolation allows third-party hardware to enhance their audio effects and quality by their own in-built software without replacing the Windows audio itself.
Is “Windows Audio Device Graph Isolation” Safe?
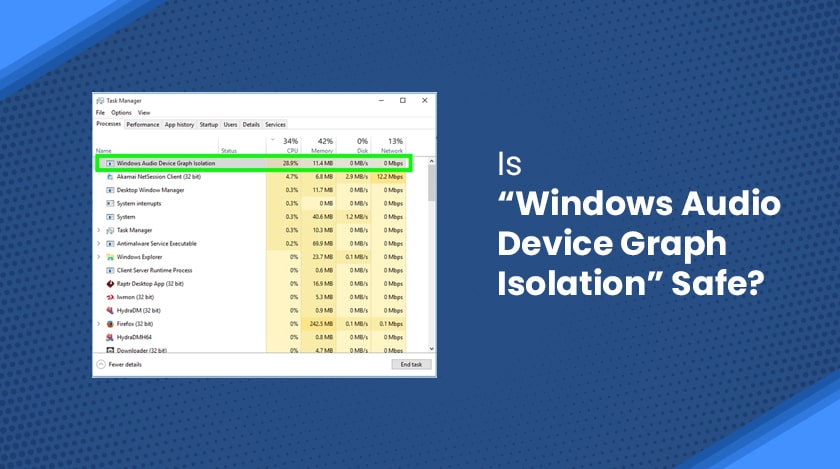
Many of the users have been worried about this question, or some may have even asked whether Windows audio device graph isolation is a virus? The straight answer to this is a “No”.
It is an in-built part of Windows operating system that makes the windows audio engine more stable. It is not a threat to your device from any aspect. To be honest disabling it would be a mistake and you cannot disable it fully as well.
To disable this feature users have to disable the main windows audio service which would completely make you left with zero sound, or a mute computer. You don’t want that right?
What problems it might cause is that it might slow your computer performance in terms of speed. What this thing actually does is that it allows the third-party apps, or hardware to run their own audio enhancements on the windows device without altering the main windows audio service. It sometimes spikes up the memory or CPU usage drastically, and uses a lot of disk space which would cause your computer to get a bit slow.
If this is the matter, then you can simply disable the audio enhancement features without disabling the whole windows audio service. Now you should know how to disable the audio enhancements on your device.
How To Fix “Windows Audio Device Graph Isolation” Issues?
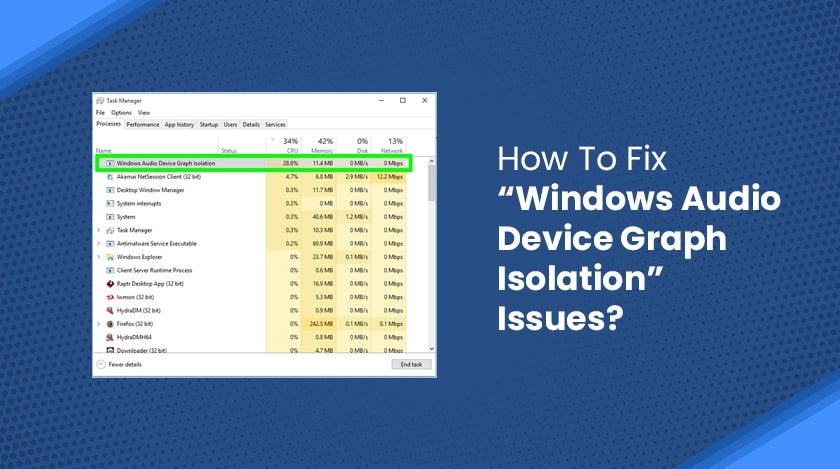
If you are having trouble with “Windows audio device graph isolation” in your computer, as it might posses a high CPU usage, then here is a quick fix of that. Let’s take a look at that.
- Type “Control panel” in your device’s search bar.
- Choose the “Large icons”
- Now, right click on the “sound icon” on your device and then click on “Sound”.
- A new window will open where you will find the “Playback” tab on the top.
- Click on it. Now again a new window will open which will show you a list of speakers that are connected to your windows.
- Select the speaker that you want to work on. Click on it then click on the “Properties”.
- Another tab will open. Here you will find the “Enhancements” tab. Click on it.
- Check the “Disable all sound effects” box. Click on “Apply”, then “OK”.
Now open the “Task manager” and check the “Processes” tab. Now the CPU usage by “Windows audio device graph isolation” should come down as low as zero. And your device might now run absolutely okay.
Update Your Audio Drivers
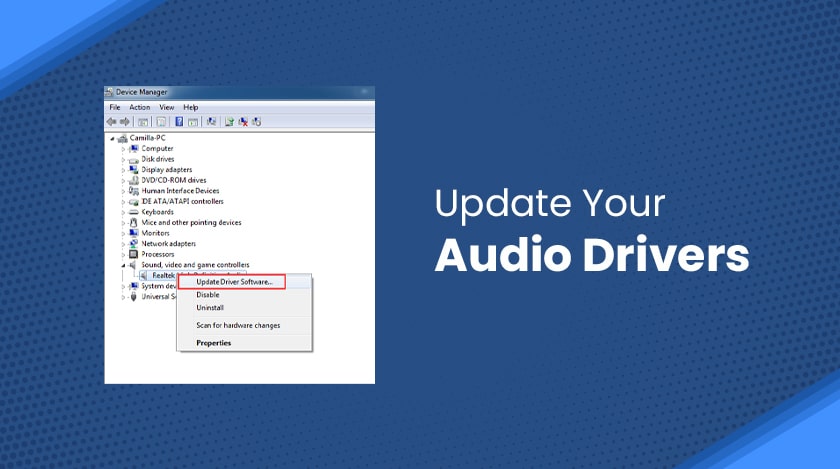
The audio driver in your device plays a very important role in your sound performance and the overall device performance. So, you should update your drivers on a regular basis. Outdated audio drivers can hamper your device a lot.
Here a short way you can follow and update your drivers. Let’s take a look.
- Press and “Windows” key, then press “R”. It will launch the Run Application.
- Type “devmgmt.msc” and hit enter. It will open the Device manager.
- Select “audio driver” from the dropdown. Right click on it. Select “Update driver”.
- Select “Search automatically for updated driver software”.
- Windows will automatically download the updated driver and install it on your device.
- Now restart your computer.
Conclusion –
Now you know almost everything about Windows audio device graph isolation, how it works, and how to solve its issues. Following these simple steps will help you resolve your problem in your Windows device. Hope this article was helpful for you.
Read Also –

![[100% Fix] Windows Audio Device Graph Isolation Issues](https://techtrendspro.com/wp-content/uploads/thumbs_dir/pximouse-p6masg2ab302k38uuzfrb6ikx6bpd17lq9681xt4cc.jpg)
![[100% Fix] Windows Audio Device Graph Isolation Issues](https://techtrendspro.com/wp-content/uploads/thumbs_dir/What-are-the-different-methods-of-water-purification-used-for-home-use-2-1-1-p6tkiwlhojmzbmljbe6xiyf9ue80oqpyv3j5zx18vw.png)


